
Assembly Made Easier with Slave Pins and Alignment Tools
By Robert Dunn and Mark Foster
This is a joint article between Robert and Mark. Both will discuss slave and alignment pins from their perspective and list some uses. There are far more firearms that may need a slave pin to assist with reassembly than we can list but this is an important topic for new and veteran gunsmiths.
Mark:
Not everyone can have an assembly line in their shop or have specialized assembly fixtures for making firearm assembly easier. There is no need for an assembly line or fixtures unless you work on the same firearm, installing the same part, day in and day out. Gunsmiths tend to work on a lot of different guns and sometimes don’t see the same model for months or even years. However, just because you only occasionally work on a CZ 75 or a Remington 1100, doesn’t mean you don’t need an advantage when it comes time to reassemble the CZ de-cocker or the Remington carrier.
Enter the “slave” pin. Also known as an assembly pin… or if you have a swear jar, a money saving pin! So, what is a slave pin? A slave pin is a pin that allows a sub-assembly to be assembled outside of the firearm where it is easier to work on or assemble. A slave pin is generally a shorter version of the actual firearm pin. It is long enough to hold the sub-assembly parts together but is short enough for the sub-assembly to fit into the firearm without interference. The slave pin keeps everything aligned until it is pushed out by the way by the actual pin (or screw). Let’s take a look at a simple example.
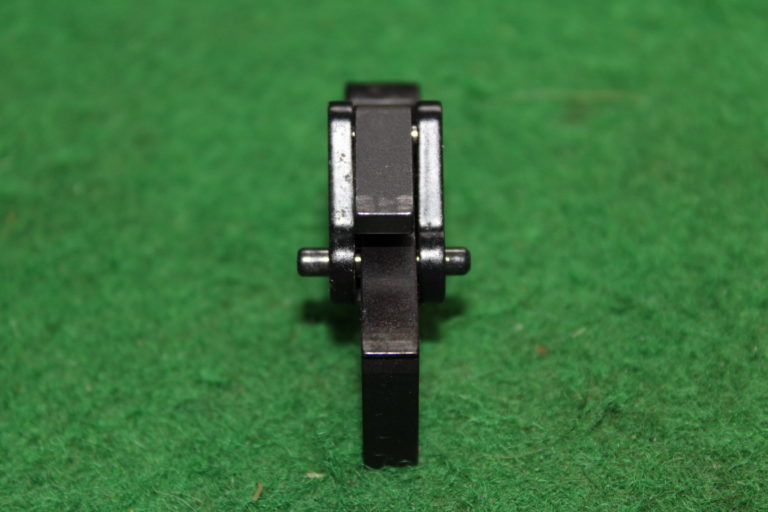
In the photo below we have an AR-15 trigger and disconnector. The parts are normally separate and what you don’t see is the disconnector spring inside the trigger that is trying to push the two components apart. Many people find it difficult to install the trigger down in the lower receiver (while the trigger spring is pushing against your effort), put the disconnector in place, and then install the trigger spring through the side of the receiver. Sometimes it feels like a third hand would help with the installation.
Since a third hand is usually not an option… enter the slave pin. As you can see from the photos, there is a pin holding the disconnector into the trigger. The pin is not quite as wide as the trigger (right photo) so that it doesn’t hit the inside of the receiver to prevent assembly. It is just long enough to hold the disconnector in place while the assembled components go into the receiver. Minimal effort and alignment is all that is necessary to install the trigger pin. Can it be done without a slave pin? Of course, but the slave pin makes it easier… which is exactly the point.


(A slave pin in an AR-15 trigger – note it is narrower than the trigger width)
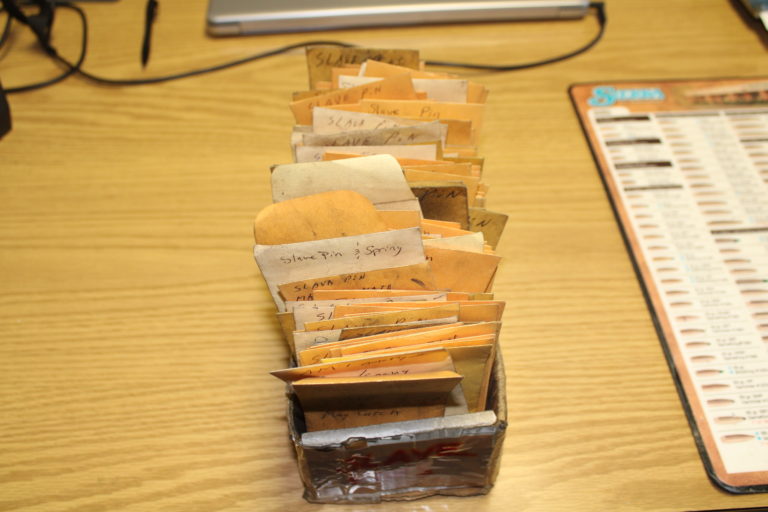
When I worked for Bob Dunlap many years ago, I had a toolbox drawer full of slave pins. Most importantly, I knew what firearm each slave pin was used in but I didn’t have them marked in envelopes or container. Over time, as I moved away from general repair to specialty work, they all disappeared. In the last 10 years I’ve started doing work on a larger variety of firearms again and have had to make new slave pins. However, now I keep them in containers and mark them. I use a lot of fishing tackle boxes for parts. I mostly use Plano brand but have other brands as well… I like it when I can find this type of box on sale, in a value pack, or in a yard sale!
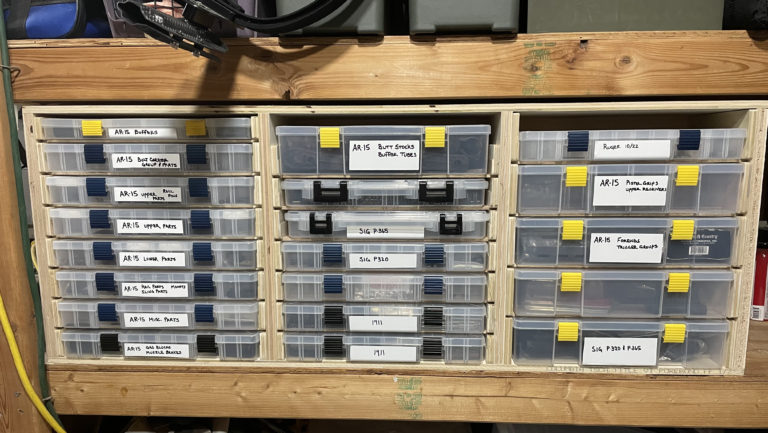
(Some of Mark’s parts storage tackle boxes)
I use the tackle boxes for tools and keep the associated slave pins in the same tackle boxes. I use container sizes that fit in the tackle box spaces. I use 1oz plastic cosmetic containers or clear 35mm film canisters from Amazon (remember 35mm film?). Small envelopes or mini zip-lock bags work just as well and take up less space.
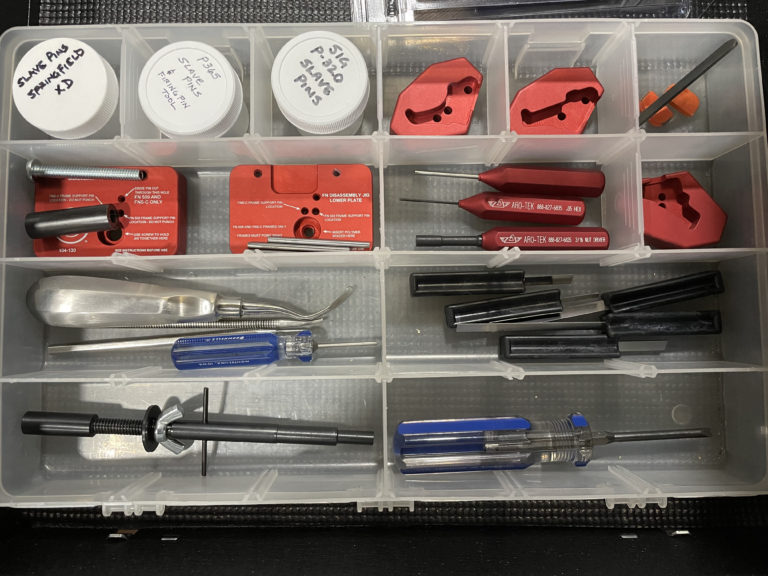
(Some of Mark’s handgun tools and slave pins in 1oz plastic jars)
So, what are slave pins made from? Well, just about any steel, brass, wood, or polymer rod that fits the diameter and length needed and holds up to the pressure it may take to hold the sub-assembly together. I have used toothpicks when I didn’t have anything else handy. I really don’t recommend wood or most polymers because they don’t hold up to abuse as well as steel. If you are going to take the time to make slave pins, make them to last.
Many gunsmiths make slave pins from round spring stock. You can buy spring stock from Brownell’s, McMaster-Carr, Grainger and other suppliers. Not only is spring stock useful for making springs, it is already round and usually very specific diameters. You can easily cut to length whatever you need and it’s fairly strong in its annealed state. You can make a slave pin from any steel, brass, or aluminum you have handy, although you will generally need a lathe to turn the diameter you need and chamfer the ends.

(Brownell’s small diameter spring stock but they also sell larger size wire)
You can use old drill bits (the end that goes into the chuck, not the drilling end).
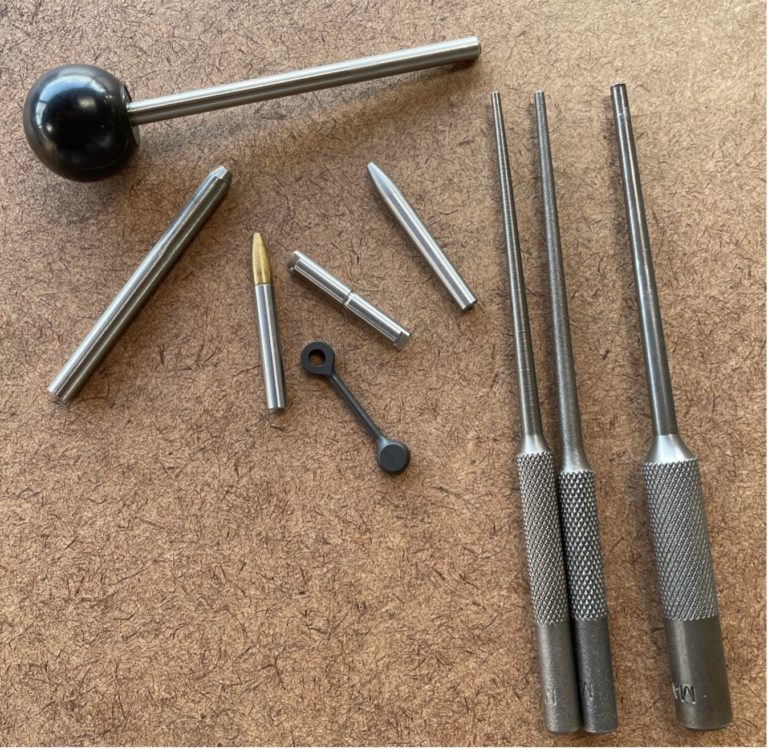
I like to use hardened dowel pins and used pin gauges for my slave pins. Dowel pins are generally hardened and ground to the listed diameter and they already have at least one end chamfered, rounded, or both. They don’t come in every diameter you might need but if I can find them in the right size, they are fairly inexpensive, and will last a long time. Pin gauges are hardened and precision ground measurement tools but are basically drill rod without the flutes. I don’t use high grade pin gauges for slave pins because they can be expensive and there is no need for that kind of accuracy. I bought a bunch of used pin gauges on eBay for cheap so I use them when I can. Pin gauges are usually two inches long or longer, so multiple slave pins (or alignment pins) can be made from the same pin gauge.


(Photo of various dowel pins (left) and pin gauges (right) useful for making slave pins)
You can also buy some slave pins pre-made. Brownell’s sells carrier slave pins for the Remington 1100 series and the Benelli M4 / Nova carrier. Cajun Gunworks sells a slave pin for the CZ 75 decocker. Numrich Arms sells slave pins for some New England Firearms shotguns.

(Mark’s Brownell’s carrier slave pins – Benelli M4 above and Remington 1100 below)
Although none of the slave pins listed here are expensive, they are still more expensive than if you make them yourself. If you think that you are only going to work on a difficult firearm once in your lifetime, you may or may not need to make a slave pin. However, chances are good that you will work on that model again. Take the time to make a slave pin. It may take a few minutes but it may also save you frustration or putting money into that swear jar! It may also help you in the future OR it may help a fellow gunsmith to know what you made and how it helped.
Another important assembly tool is the alignment punch or pin. You can purchase alignment punches, which are simply long tapered punches. When you are struggling to align a hole in a part with a hole in a receiver or frame, sometimes a tapered punch or pin can really help. It can help you align one side, allow you to start the pin, and then push or tap the pin in all the way.
Other types of alignment pins include a pin, of slightly smaller diameter than they one you need to install, that is chamfered or bullet shaped on one end. KNS anti-rotation pins come with a threaded brass alignment aid that is bullet shaped. It allows you to more easily install a mil-spec type hammer in an AR-15 type rifle. Instead of fighting the spring, use an alignment pin or punch to lever the hole into alignment… use leverage to your advantage.
(Some of Mark’s alignment punches (right), Geissele AR-15 alignment pin (top), KNS alignment “bullet” on a hammer pin (center), and two hand-made alignment tools)
So, what does it take to make a slave pin? It is generally starts with measuring the existing pin or hole diameter, both in the parts and the frame or receiver. I generally subtract about .001” or so but it could be the same as the original pin, just not tighter. Measure the width of the sub-assembly – the pin needs to be no wider than the sub-assembly but you can subtract .005”or so but it depends on the parts in your sub-assembly and how much wall thickness you have. You don’t want it wider than the sub-assembly; you want the sub-assembly to go in easily. Chamfer one or both ends of the slave pin to aid it in alignment and exiting when you install the actual pin.
Writing “how to” is more complicated than actually making and using slave pins! So, Robert is going to take you through it step-by-step.
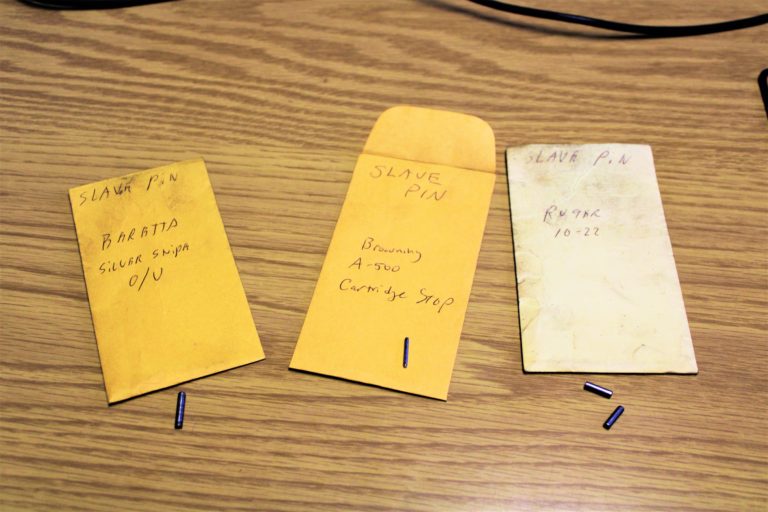
Here we can see a few of Bob Dunlap’s slave pins that he made. Bob and Ken have probably been using some of these pins for literally decades.
Robert:
Making Slave Pins
Mark has covered the many useful products and tools that can be used for alignment and slave pins. I would like focus on some of the field expedient slave pins and alternatives that you might find around the home or in a local hardware store. This topic came up on the GCA website’s Ask the Pros Forum and in a pinch, some of our members, including myself have used tooth picks, wooden dowels, wire coat hangers and Q-tips to make slave pins. My favorite thing to use to make slave pins are drill bits and nails. I purchase large sets of drill bits from Harbor Freight and various sized nails from the hardware store. These items are really inexpensive and I always have an eye out for them at yard sales and flea markets.
In the above photo, we can see how Bob Dunlap arranged his vast collection of slave pins. It always reminded me of searching for vinyl LPs in a record store when Bob would send me on a mission to find the slave pins for the gun we were filming.
I rarely have to journey from where I live to find something to make a slave pin out of, as I have a 5 gallon bucket that is filled with over 50 years worth of various sizes of nails that were used to build and repair countless things on the farm. Once I find the approximate size nail to do the job, I use basic gunsmithing tools to make the slave pin. The nail that I choose will be quite a bit longer than the final length of the pin to give me enough length to work with. The tools that I use for this job are; hack saw (or a Foredom tool with a cut-off disc), dial calipers (or digital), a Sharpie to mark your measurements, a file, a vise (or clamp) and a cordless drill.
The first thing that you want to do is use your calipers to get the measurements for the slave pin that you are going to make (the length and the diameter). Remember that the slave pin must be the same diameter of the actual pin that goes in the gun and the length is short enough to fit the subassembly into the gun and long enough to hold all of the parts together, which is shorter than the original pin. After selecting the nail (or whatever you are using to make the slave pin), place it in a vise and cut the head off with the hack saw. Next, chuck the nail up in the cordless drill and begin to file the diameter of the nail down to the needed measurement. It’s best to file a little bit off and measure until you reach the correct diameter. You will now use the hacksaw to cut the nail down to the correct length. The final step is to chuck the new slave pin back into the drill and clean the ends up with the file so that there are no sharp edges. One of the ends will need a slight chamfer to allow the slave pin to enter the subassembly with greater ease.
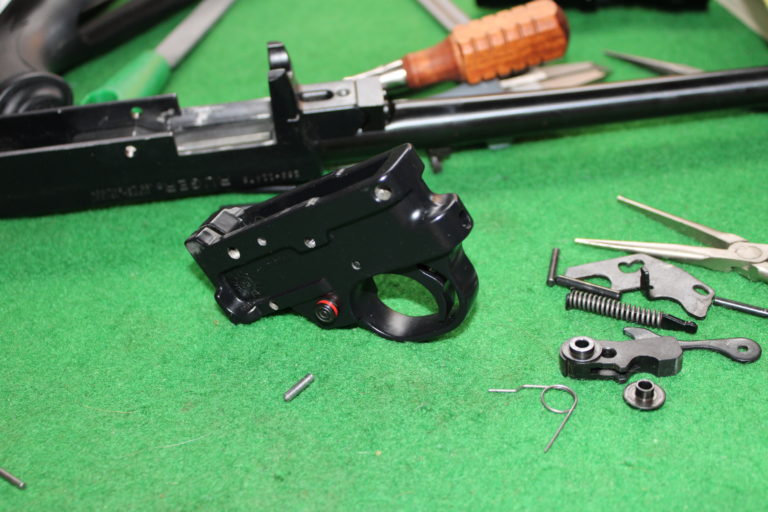
In the following example, I will be showing you how to make a slave pin for a Ruger 10/22’s trigger pivot pin with basic gunsmithing tools. This slave pin makes the job of assembling the trigger subassembly back into the trigger housing much easier.
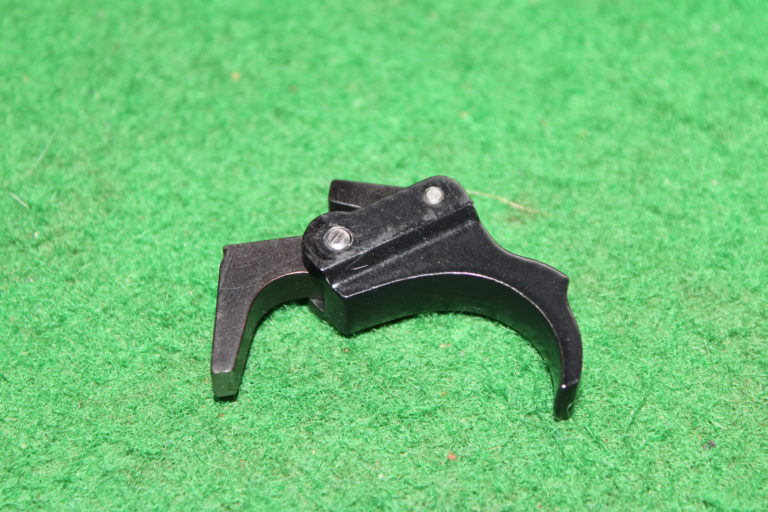
In this photo, we can see the original trigger pivot pin sticking out both sides of the trigger. Our slave pin will replace that pin during assembly and will be flush on both sides of the trigger so that it will fit in the trigger housing. The slave pin holds the sear and sear spring in place inside of the trigger subassembly.
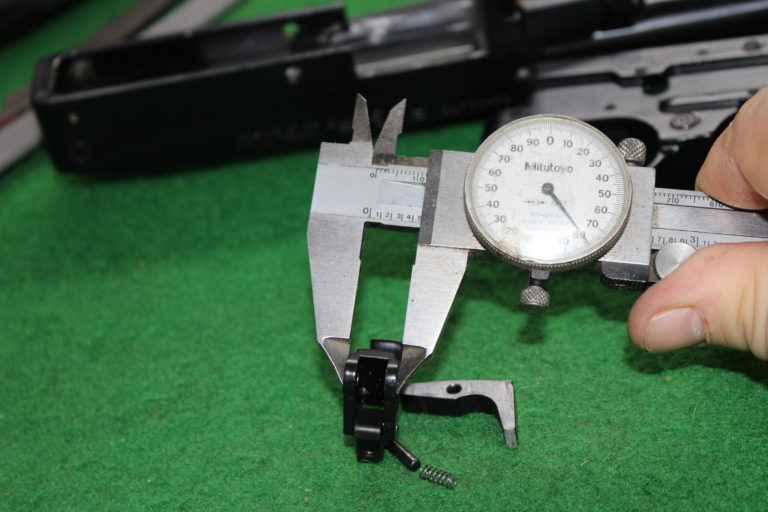
The length that the slave pin needs to be is measured on the trigger, which is .480”.

The measurement for the slave pin’s diameter is found by measuring the diameter of the original trigger pivot pin, which is .122”.
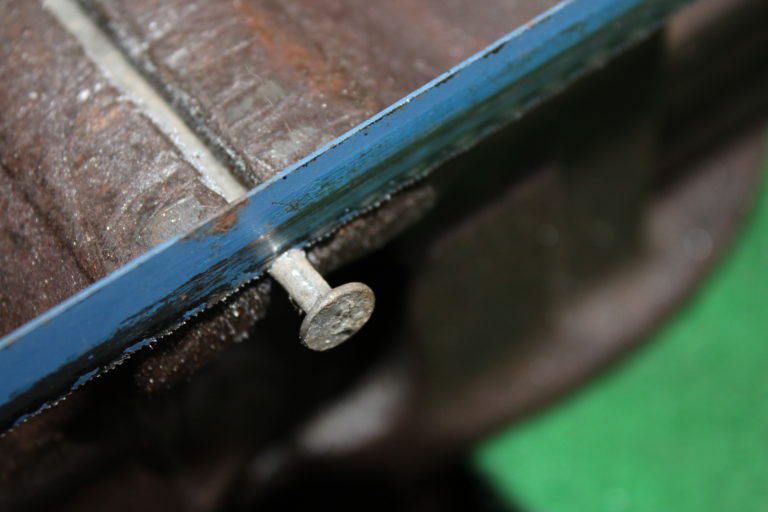
After you have selected your nail, secure it in a vise and use a hacksaw to cut its head off.
The next thing to do is chuck the nail up in a cordless drill and then secure a file to your bench with a clamp or in my case, a portable vise. Hold the drill tightly on the file, with the drill operating at high speed, as you move the nail forward and rearward to file away material to decrease the diameter. It’s best to file a little off and then measure, doing this process over until you reach the correct diameter.
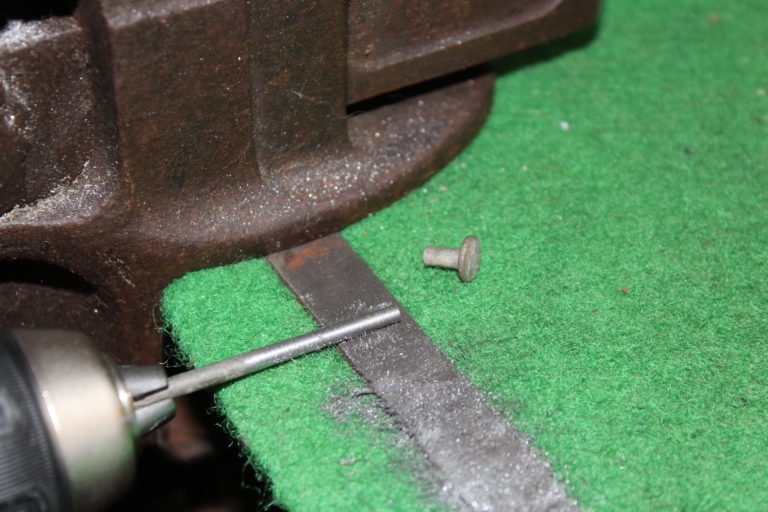
Check your work by installing the nail through the trigger pivot pin’s holes in the trigger. Once you get the diameter that you need, mark the nail with a Sharpie/marker where it needs to be cut to make the new pin flush on both sides of the trigger when it is installed. Once again, you will use the hacksaw to cut the new slave pin to its proper length.
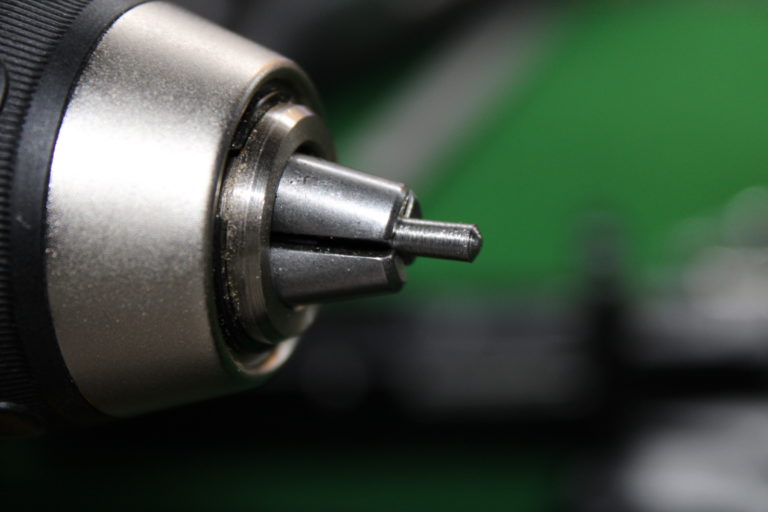
It’s always a good idea to file down any sharp edges and chamfer one end of the slave pin. The drill can be used for this process.
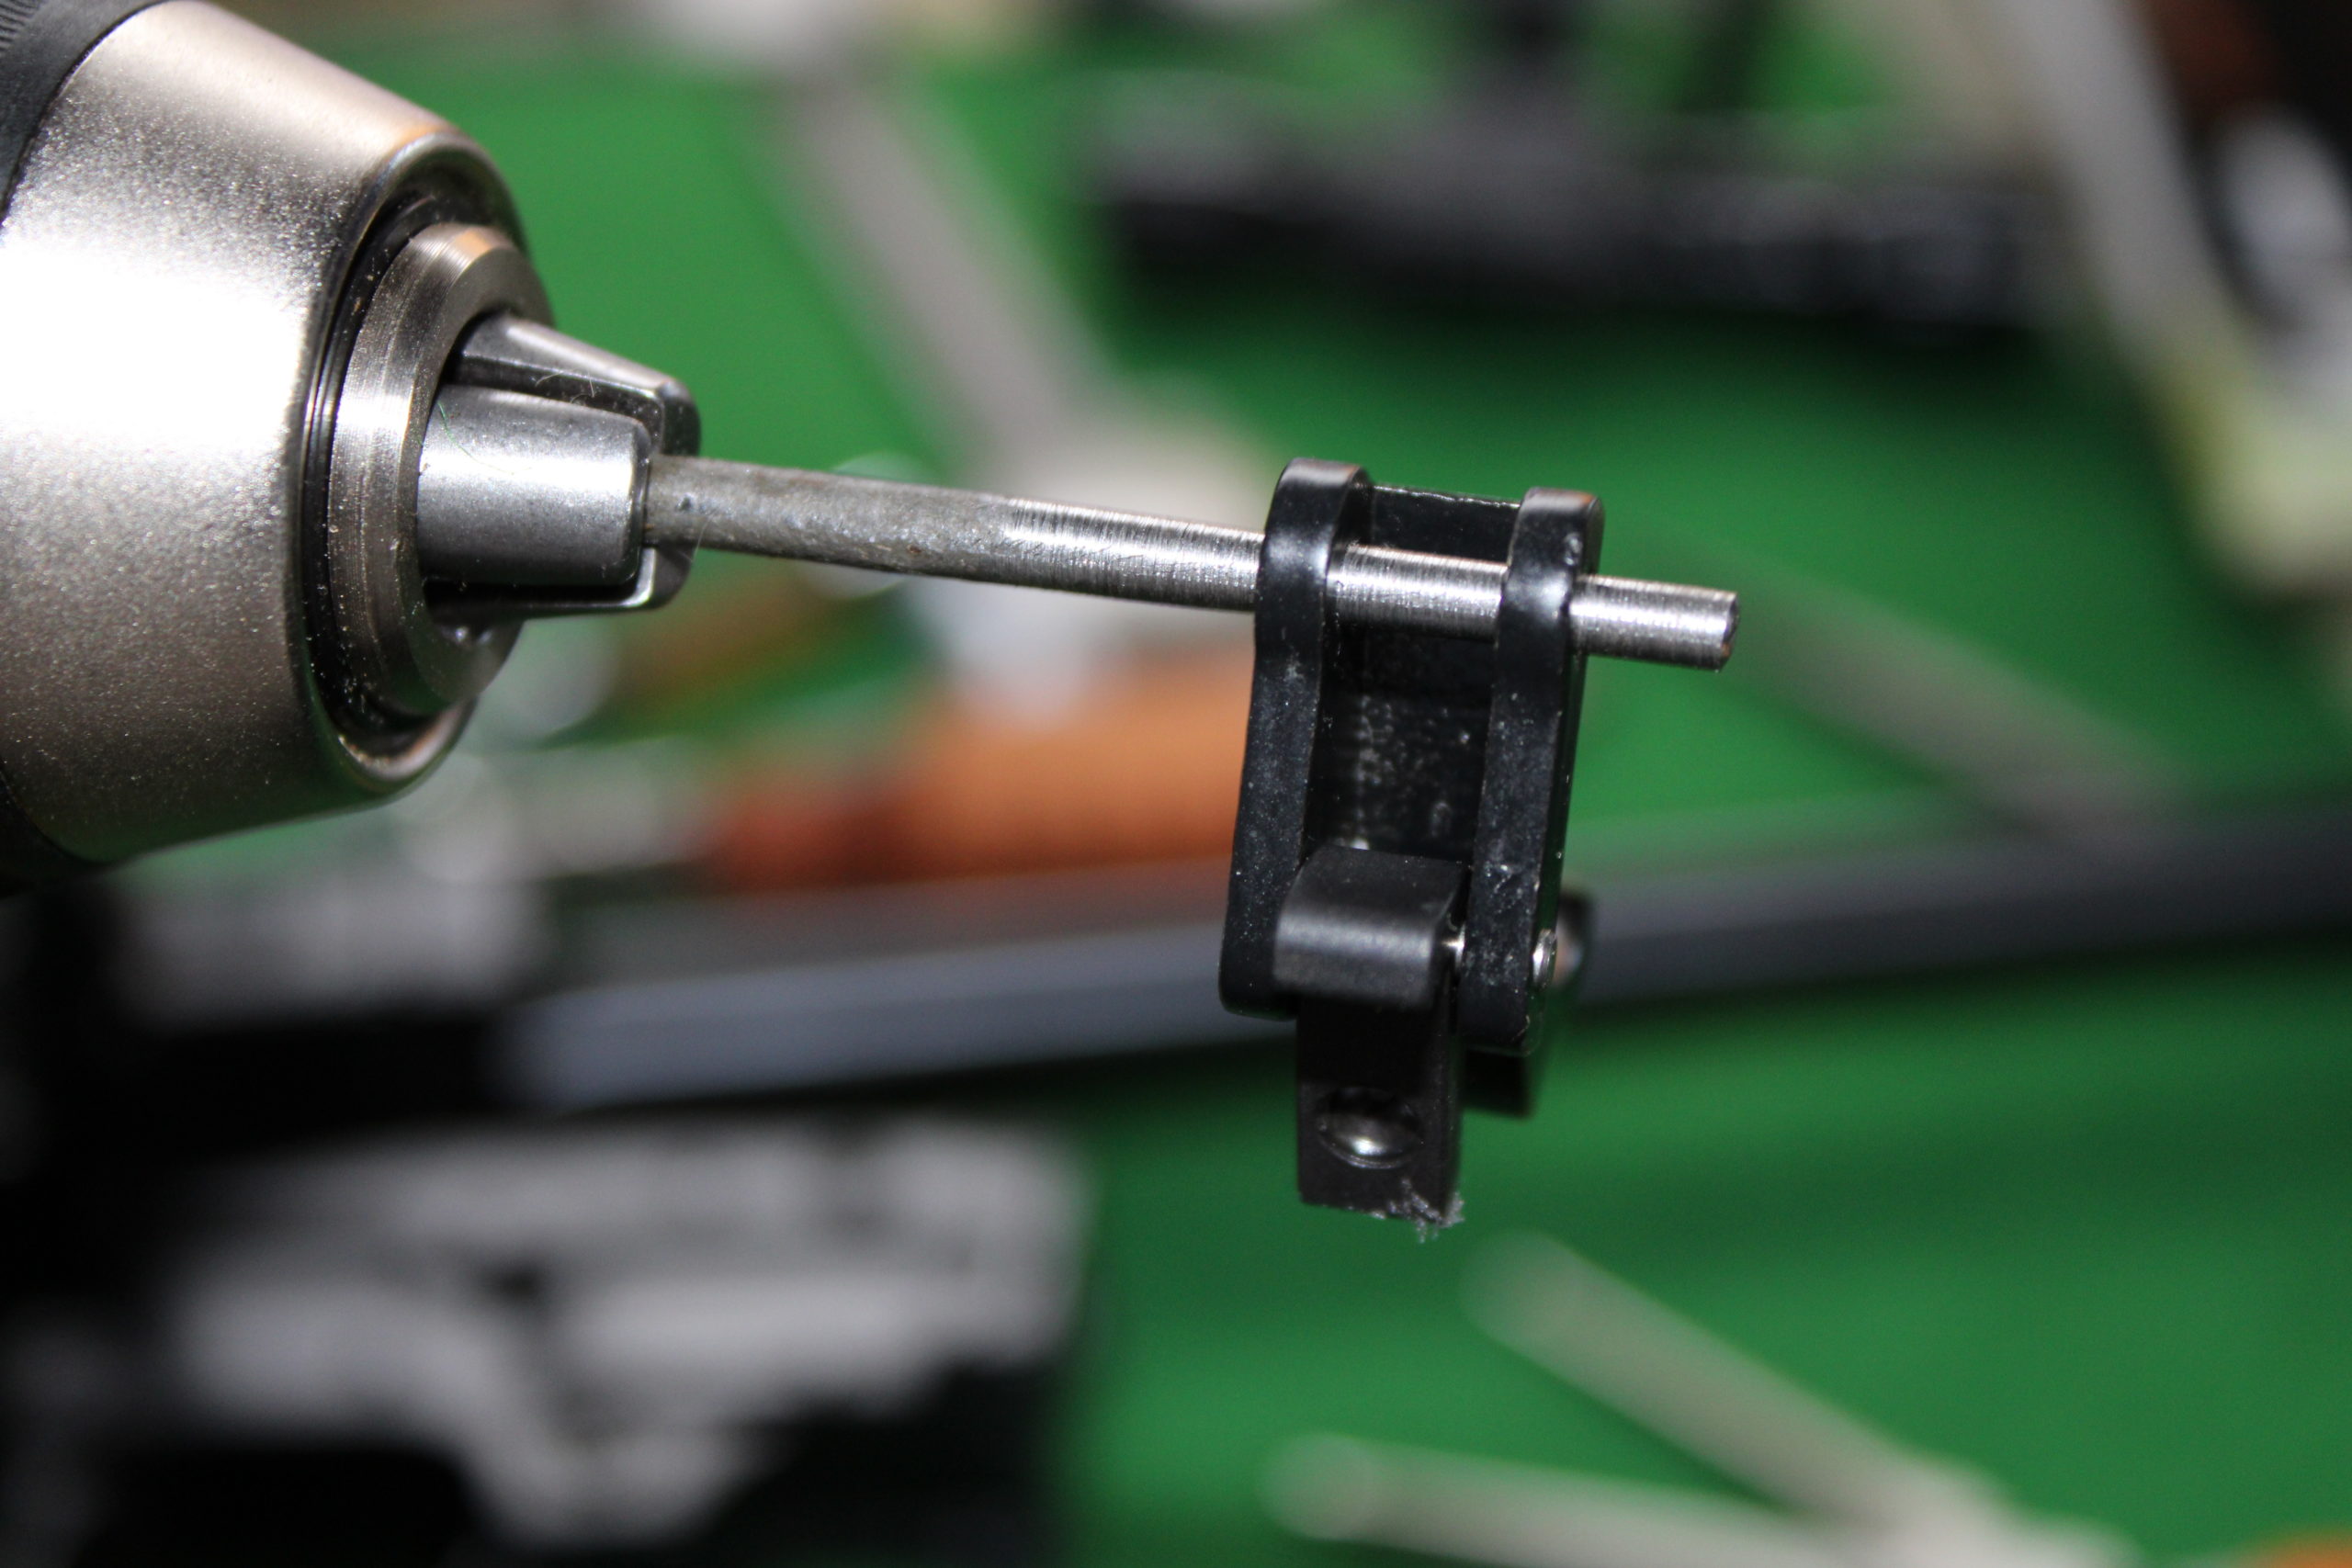
Taking a look at the slave pin (the pin on the left side of the photo) installed in the trigger subassembly, notice that it is flush with the side of the trigger.
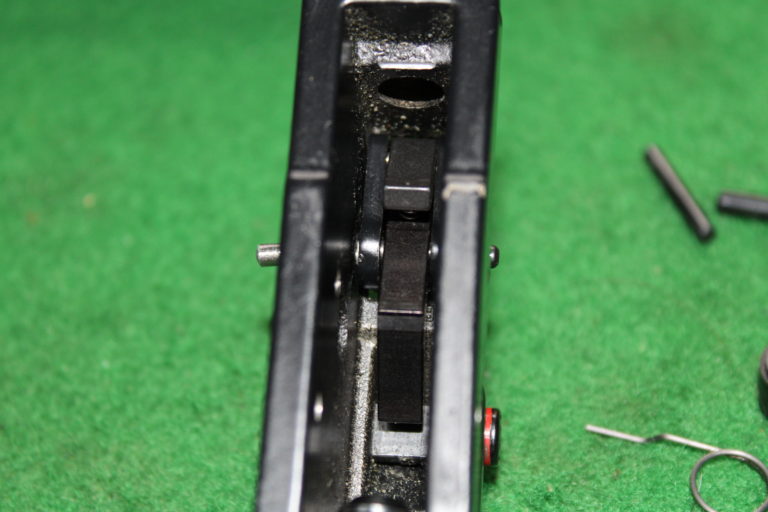
Here is a photo showing how the original pin is driven in, which drives out and replaces the slave pin.
When the original trigger pivot pin is driven all of the way in, the salve pin will fall out. Now all you have to do is assemble the rest of the gun!