My first build
By:
Bruce Stewart
I started with an old rusty Stevens Visible Loader receiver. I had purchased it to learn how Color Case Harden. There was a NRA summer class coming up at Lassen College. Any way I got the receiver and started prepping for color casing (Lots of sanding) and making blocks to put in the receiver so it won’t warp when color casing. While I was prepping the receiver I noticed there was an Engraving class the two weeks prior to color case class, so I enrolled in it. Some ware along the line I read that the old timers used what ever they could find to color case with (bone and leather). I had a bunch of leather scraps and some old boots so I cut up the boots and leather scraps and made leather charcoal.


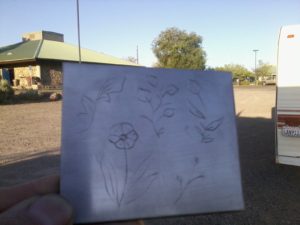
Class time finally came around. In the Engraving class we had to do a lot of practice. Engraving strait lines and curves (Tap, tap, tap, tap). Hopefully you get the picture
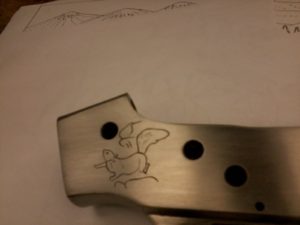
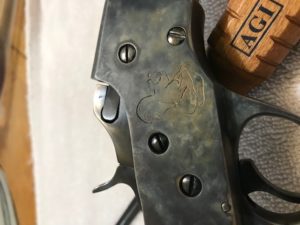
As it turned out I was the only person in class to actually engrave a firearm.


Now it was time to move on to the color case class. More sanding and polishing. Getting the blocks installed mixing the charcoal (wood, bone and leather). Pack the receiver in the crucible with the charcoal mix and heat the whole set up in a Kiln for a couple of hours. Then quench in icy cold water.
With all the parts acquired (sanded, polished and blued) it’s time to assemble the rifle.

